Automatic Gate Opener Stopped Working? Here Is How to Diagnose It
This post contains affiliate links. We may earn a commission at no extra cost to you.
Your automatic gate opener worked fine last week and now it doesn’t. Before you call a technician and spend $200–$400 on a service visit, run through this diagnostic sequence — most failures are caused by one of five things, and four of them you can fix yourself in under an hour.
Step 1: Check the Battery First (Seriously)
About 40% of gate opener failures are battery-related. Most residential automatic openers use a 12V sealed lead-acid battery that charges from the AC power supply. These batteries last 3–5 years and fail gradually — the gate may open slowly, stop mid-cycle, or not respond to the remote before it stops entirely.
Test: open the control box and check battery voltage with a multimeter. A charged 12V battery should read 12.4–12.8V under no load. Below 11.5V means it’s done. Replace it — 12V 7Ah sealed batteries cost $20–$30 at any hardware store.
Also check: is the AC power getting to the unit? A tripped GFCI outlet or a tripped breaker is embarrassingly common. Reset the circuit and test before touching anything else.
Step 2: Check the Safety Sensors
Most openers built in the last 15 years have infrared safety sensors on either side of the gate path. If anything breaks the beam — a spider web, a leaf, a slightly misaligned sensor — the gate won’t close (or won’t open) as a safety measure. The LED on one or both sensors will be blinking or red instead of solid.
Fix: align the sensors so they face each other directly. Clean the lenses with a dry cloth. Make sure nothing is blocking the path. This takes 5 minutes and solves a surprising number of failures.
Step 3: Limit Switch or Travel Setting
Limit switches tell the opener where “fully open” and “fully closed” are. If the gate was bumped by a vehicle, if the motor mount shifted, or if a newer opener’s settings drifted, the gate may stop short of the open or closed position — or reverse unexpectedly before completing the cycle.
Check your opener’s manual for the limit switch adjustment procedure. On most units it’s two screws or a digital setting in the control board. Adjust in small increments and test each time.
Step 4: Remote and Keypad Failures
Remotes fail. Batteries die, buttons wear out, frequency interference from newer garage openers or RF devices can knock them out. If the gate responds to the hardwired button inside the control box but not the remote, the remote is the problem — not the opener.
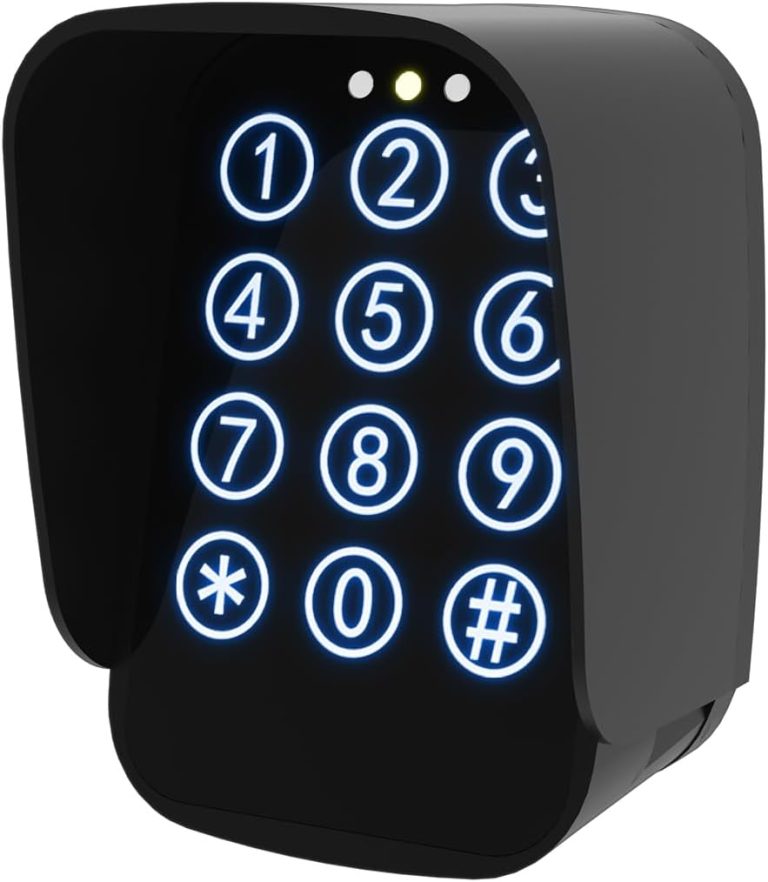
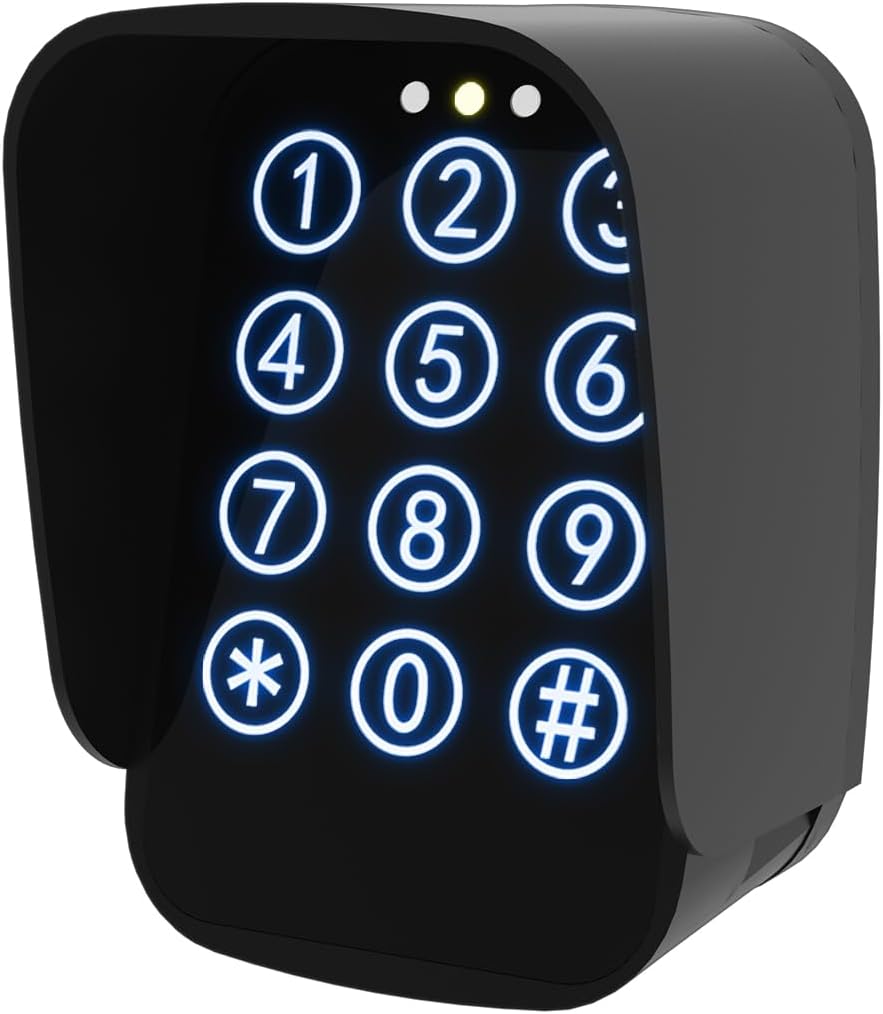
Replace the remote battery first ($3, 5 minutes). If that doesn’t fix it, re-sync the remote to the opener (check your manual — it’s usually a button sequence on the control board). If you need a replacement keypad, the universal gate keypad with multiple access codes works with most major opener brands and is considerably cheaper than buying direct from the manufacturer.
The VEVOR Dual Swing Gate Opener complete kit includes a replacement motor, remotes, and control board for about $370 — if you’re diagnosing an older unit and finding multiple parts failing, a complete replacement kit is often more cost-effective than replacing components piecemeal.
Step 5: Control Board and Motor
If you’ve ruled out battery, sensors, limit switches, and remote, you’re looking at either the control board or the motor. Control boards fail from lightning strikes, moisture intrusion, or just age. Motors wear out from years of operation. These are the expensive repairs.
Replacement control boards: $80–$200 depending on brand. Motor replacement: $150–$300 plus labor. At that point, you need to make the repair vs. replace calculation.
When to Call a Pro
Call a technician when: the motor is making grinding or burning smells, there’s visible corrosion on the circuit board, the gate moved out of alignment from a vehicle impact (you need physical gate realignment, not just opener adjustment), or the opener is more than 10 years old and already on its second repair.
A qualified gate technician charges $100–$200 for a diagnostic visit plus parts. If the repair estimate exceeds 60–70% of a new opener’s installed cost, replace it. See our automatic gate opener DIY install guide for what a full replacement looks like from start to finish, and DIY vs hiring a pro comparison for when it makes sense to do it yourself.
Repair vs. Replace Cost Guide
- Battery replacement: $20–$30 — always DIY
- Sensor replacement: $30–$60 — DIY-friendly
- Remote/keypad: $30–$80 — DIY
- Limit switch adjustment: free — DIY
- Control board: $80–$200 — DIY if comfortable with electrical
- Motor: $150–$300 + labor — borderline; get a quote on full replacement first
- Full replacement: $300–$800 for unit + $200–$500 for installation
Bottom Line
Start with the battery and sensors — they cause most failures and cost almost nothing to fix. Work through the diagnostic sequence before spending money on a technician. A complete opener replacement only makes sense when you’re stacking multiple failing parts on a unit over 8–10 years old.
Related Products
- Universal Gate Keypad with Access Codes — Amazon
- VEVOR Dual Swing Gate Opener Complete Kit (up to 660 lbs) — Vevor
As an Amazon Associate we earn from qualifying purchases. Vevor links are affiliate links.